If you don’t have a traditional chimney for Santa Claus to come down this holiday season? Create your own Magic Santa Key so he can come through the front door on Christmas eve!
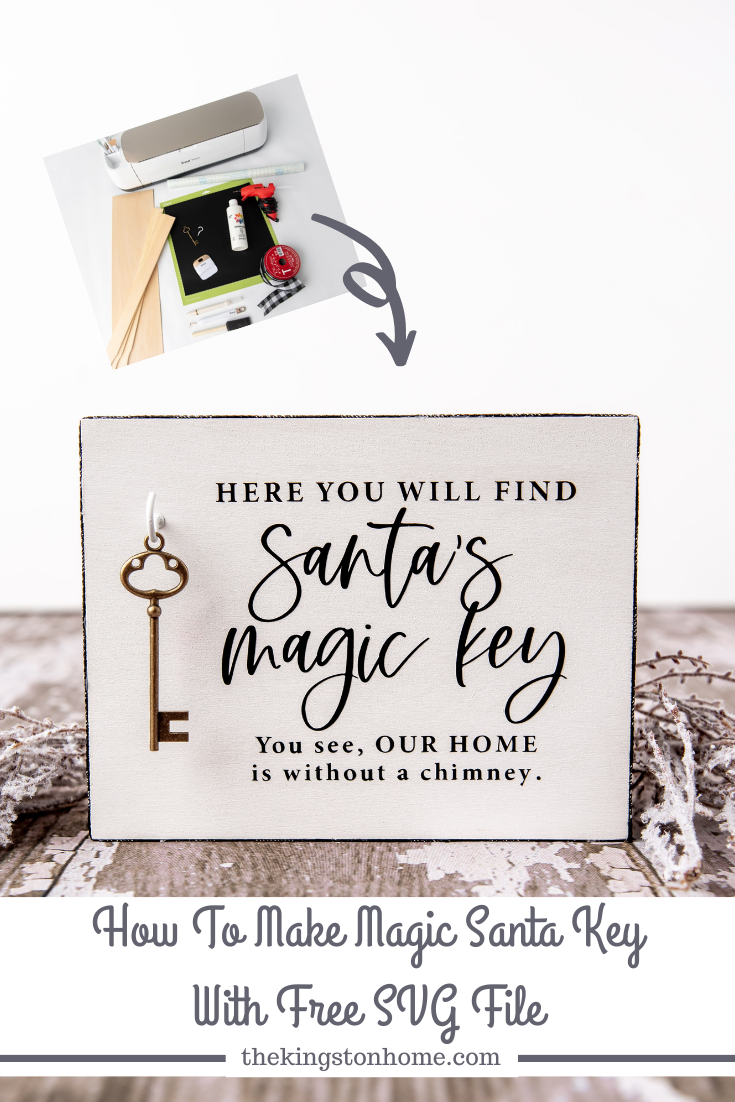
For anyone who doesn’t have a fireplace, we are tasked with answering the age-old question about how Santa will come into the house to place presents under the Christmas tree!
Thank goodness for crafty folks and our Cricut machines because we will be answering that question by creating our own Santa Magic Key!
MAGIC SANTA KEY:
If you haven’t heard of Santa’s Magic Key it is a decorative key that you leave out so Santa can come into the house on Christmas eve. This magical key is a great way to ease your little ones’ minds about Santa’s big arrival, plus it keeps that Christmas magic alive!
Today I will be sharing an easy tutorial for my version of Santa’s Key which includes a key poem and keepsake box that you can use year after year! {FTC disclosure: this blog post contains affiliate links which means I may make a commission on sales at no additional cost to you.}
SUPPLIES NEEDED:
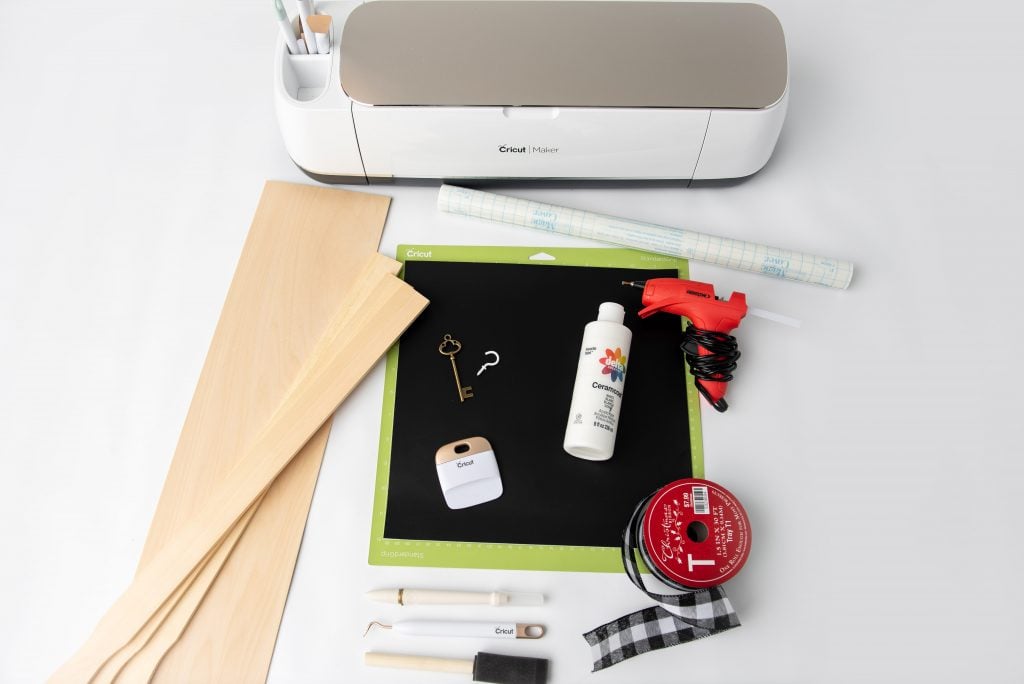

- Wood
- I used craft wood found at Hobby Lobby
- (2) ⅜” x 1 ½” x 7 ¾” (Sides)
- (2) ⅜” x 1 ½” x 5 ½” (Sides)
- (1) ⅜” x 7 ¾” x 6” (Face)
- I used craft wood found at Hobby Lobby
- Wood Craft Knife or Utility Knife (you can also use table saw or hand saw if desired)
- Paint
- 2oz craft smart white acrylic paint (you can also use stain if desired)
- Paint brushes and sponge brushes
- Hot Glue Gun
- Cricut or other cutting machine
- Oracle 651 Vinyl
- Color of your choice – we went with black
- Transfer Tape
- Access to design program
- Small Screw Hook
- Decorative Key (you could use an old key or a regular key but decorate it to make it a ”special key”)
- Ribbon
- Christmas Ribbon Tray T1 (1.5 in x 30 ft)
- Santa’s Magic Key book (optional – there are a ton on Amazon but this one will still arrive before Christmas!)
Ordering from cricut.com? Use code CRICUTCREATORS10 for 10% off and FREE shipping on any order over $50. Includes sale and clearance prices, does not include machines (anything with a plug). Cricut items can also be found at HSN, Amazon, and JOANN stores.
HOW TO MAKE SANTA KEY:
PAINT WOOD:
1. If your wood is not cut to size, please go ahead and do so now before you start painting.
The measurements you will need for your wood pieces are the following:
- (2) ⅜” x 1 ½” x 7 ¾” (Sides)
- (2) ⅜” x 1 ½” x 5 ½” (Sides)
- (1) ⅜” x 7 ¾” x 6” (Face)
Once wood is cut, paint the wood in any color you desire.


GLUE WOOD TOGETHER:
1. With the wood cut and painted, it is time to assemble the sign.
First, place the face piece of wood flat on a surface with the paint down. Next, grab the side pieces and glue them to the back of the face edge to edge


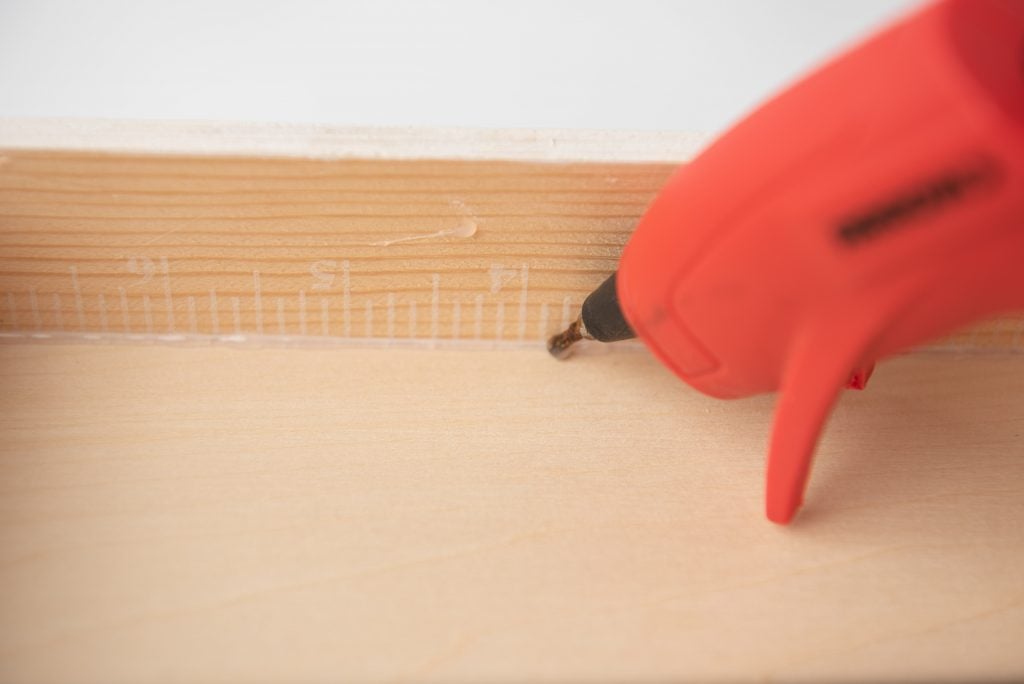

While gluing the sides down, make sure you glue the corners together as well.
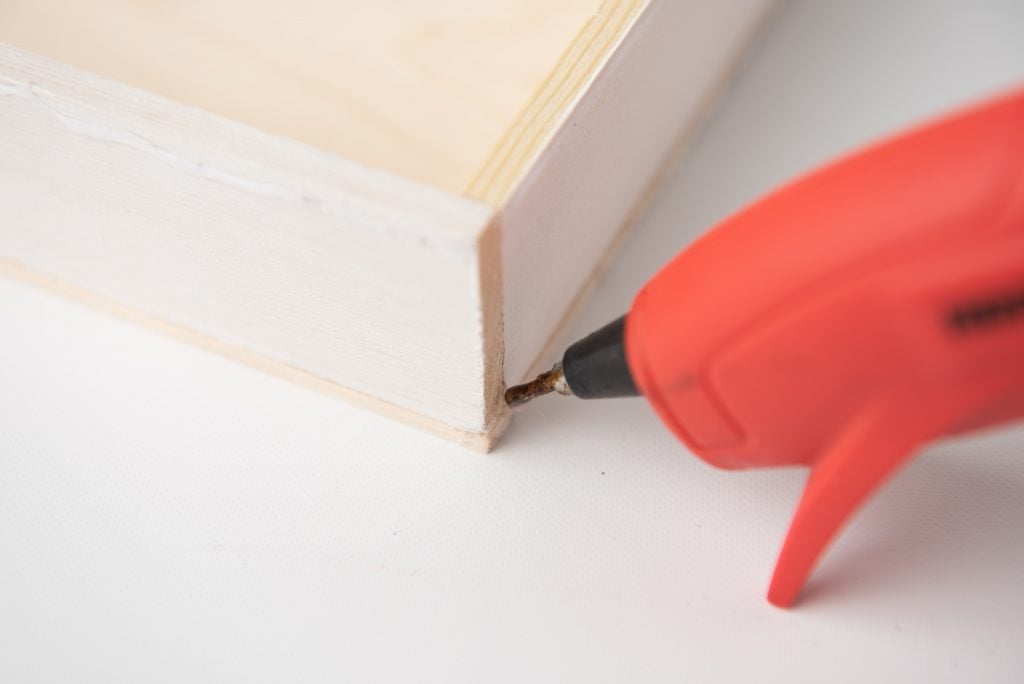

You can also glue all sides together in the shape of the back and then glue the entire shape down to the face at once. If you do this, the paint side will be face down while gluing the sides on.
GLUE RIBBON AROUND THE SIDES OF THE SIGN:
1. Before you glue the ribbon around the outside of the sign, ensure you have a clean straight end to the ribbon.
Once you have your straight end, start the ribbon at any corner and glue it in place.
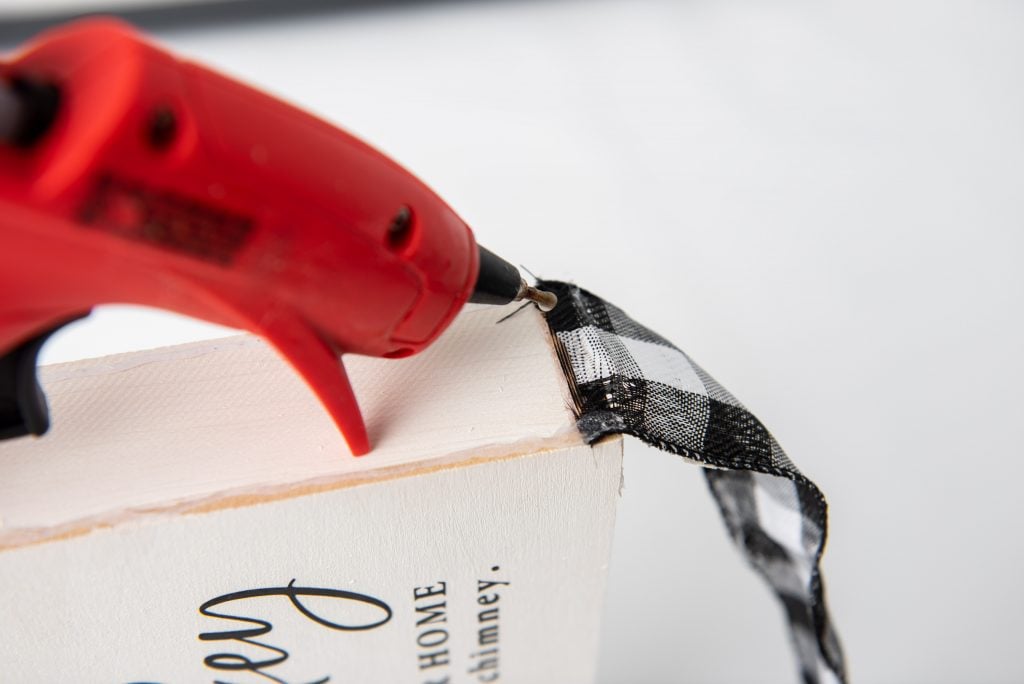

Next, pull the ribbon tight to the next corner and glue down the ribbon onto that side while pressing firmly.


To be safe, glue little sections at a time so hot glue does not dry before pressing the ribbon firmly to the sign’s edge.
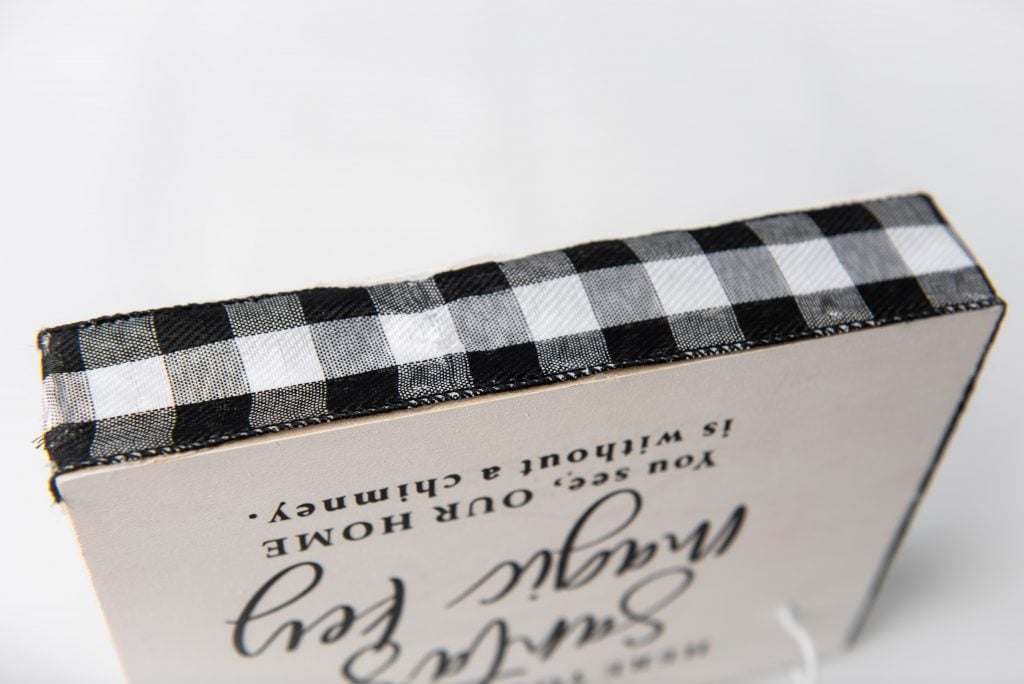
Ensure the ribbon is nice and tightly stretched around the outside of the sign before moving on to the next step.

GET THE FREE SVG FILE FOR YOUR SANTA’S MAGIC KEY HOME DECOR:
To get your FREE Santa’s Magic Key SVG file simply enter your email address and the download link will be delivered right to your inbox! This will also sign you up for my e-newsletter (you can unsubscribe at any time) and you’ll be notified when I release new free SVG files. You’ll never miss a thing!
UPLOAD AND CUTTING VINYL:
1: Open a blank canvas in Design Space.
2. Upload the Santa’s Key SVG file.
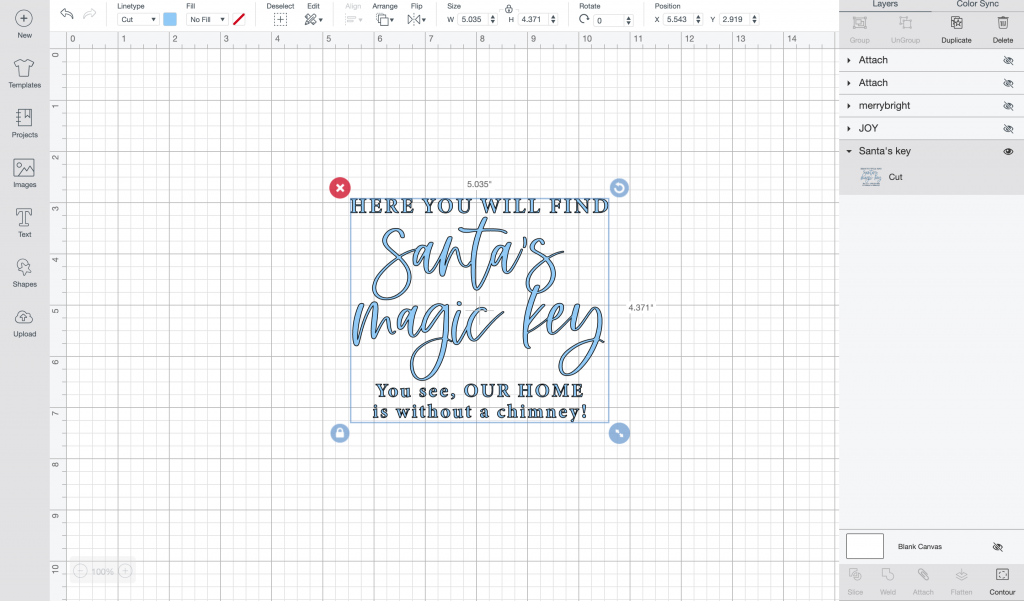

3. Once sized accordingly, adjust your machine’s setting or material dial to washi sheet with more pressure. Load the oracle 651 (this is permanent vinyl) to your machine on the cutting grip mat and hit “go”.
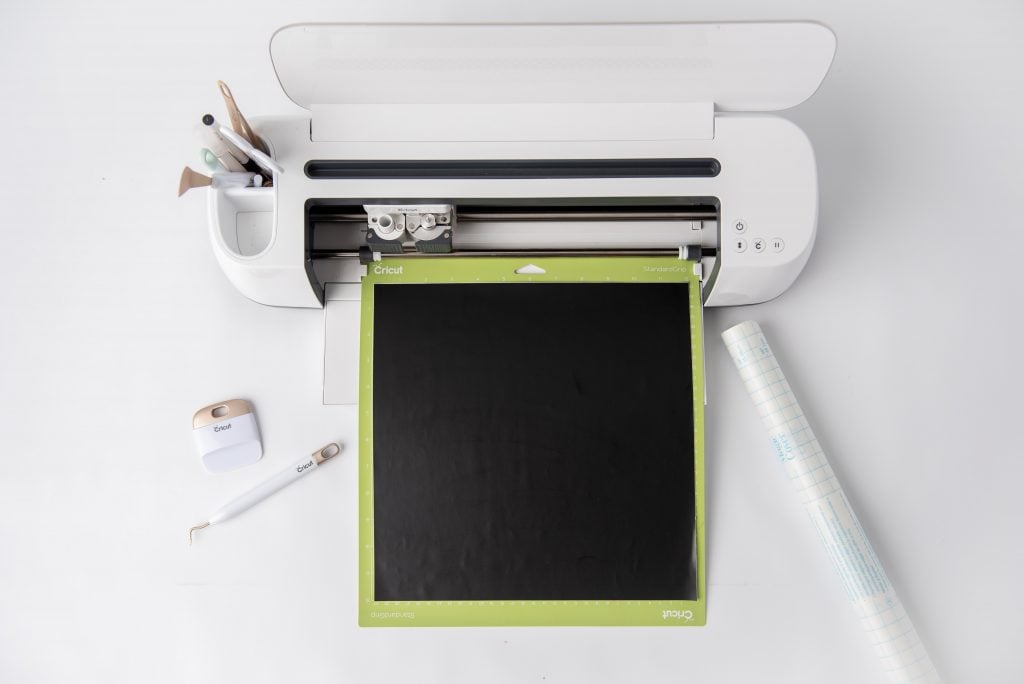

4. After the cut is complete, begin to pull the negative vinyl off and away from the letters using your weeding tool (which looks like a dentist’s pick). This process is called weeding and you will weed around the outside of the letters and small parts inside any letter that is enclosed (ex. a,e,o ).


5. Now that the weeding is complete, cut off a piece of transfer paper the size of your cut vinyl and apply to the vinyl. This will be done to help get your vinyl off the vinyl’s plastic backing and onto your project surface.
6. To get the transfer paper to lay smoothly on the design, start by pulling the plastic backing off a little at a time. Then use the scraper tool (or an old gift card) and run it down the vinyl.


7. Next, turn the entire design facing downwards and begin gently pulling the vinyl’s plastic backing off and away from the transfer paper. Starting at a corner and rolling it away slowly while applying pressure is best.
8. When the vinyl has been successfully transferred you will be able to see through the transfer paper with the vinyl attached.
APPLYING VINYL:
1. Next, find the right side of the front of your wood sign.
Be sure to leave enough space on the left side to screw the hook into the sign and have the ability to hang Santa’s key.
Lay the transfer with vinyl lightly on top of the wood sign. Do not pull too tight when laying it down. This can distort the vinyl and leave you with air bubbles later on.
Do not apply pressure or smooth down the design until you are 100% happy with the location. Once you are happy with the location, begin to apply pressure and smooth over the design using (again) a scraper tool or an old gift card.
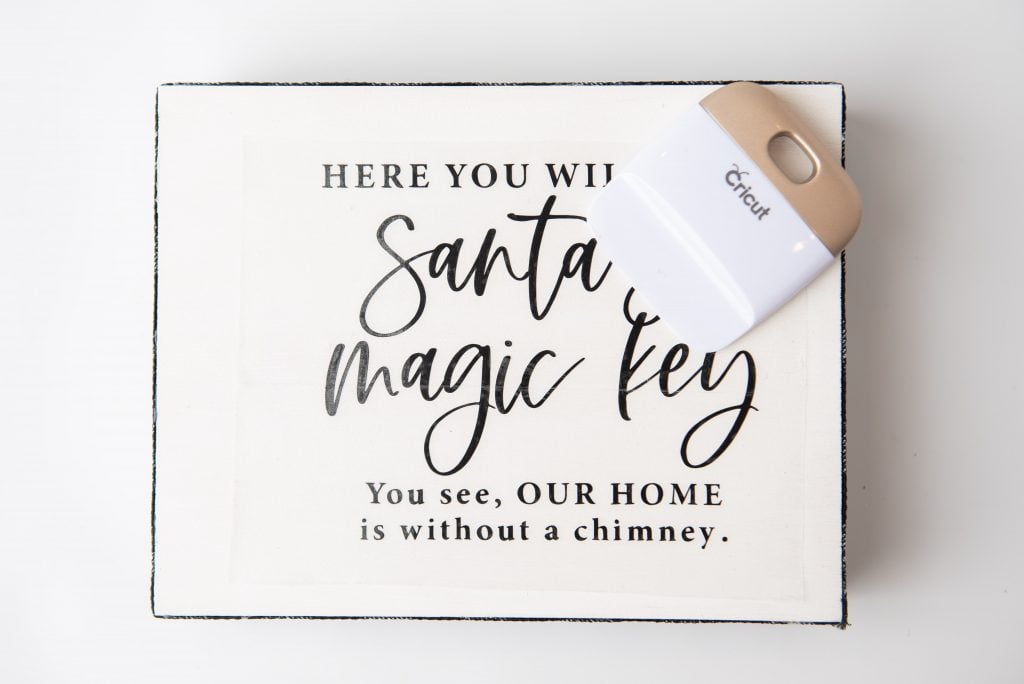

2. Once enough pressure has been applied, slowly remove the transfer paper by starting at a corner and very carefully and slowly rolling it away and off the wood. The vinyl will remain on your project.
Some letters on this design are small. Be careful when removing and applying and use your scraper tool to help it along at times by wedging it under the transfer paper while holding down the letter and using your other hand to roll the transfer paper away.
If still having trouble, try applying heat like a blow dryer while removing.
ADDING HOOK AND KEY:
1. Screw the hook on the left side of the vinyl text.
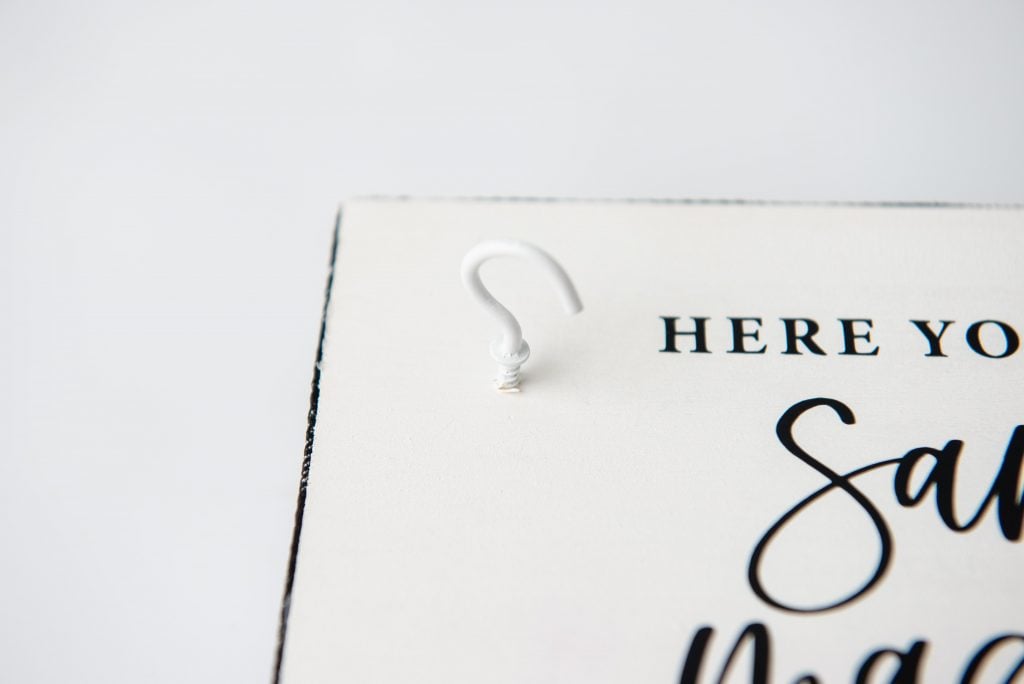

2. Hang Santa’s Magic Key on the hook.
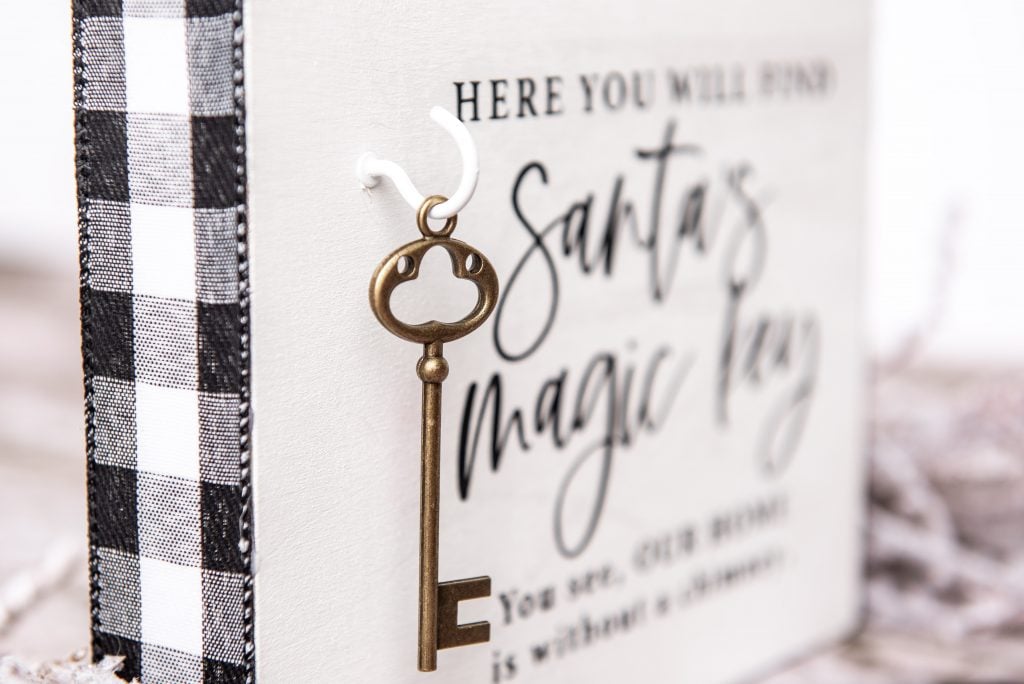

Now you are ready to display your new sign!
TIP: You can display your sign on its own, or by a plate of cookies and or reindeer food!


How To Make Magic Santa Key With Free SVG File
If you don’t have a traditional chimney for Santa Claus to come down this holiday season then check our Magic Santa key so he can come through the front door Christmas eve!
Materials
- Wood: (2) ⅜” x 1 ½” x 7 ¾” (Sides), (2) ⅜” x 1 ½” x 5 ½” (Sides) and (1) ⅜” x 7 ¾” x 6” (Face)
- Wood Craft Knife or Utility Knife You can also use table saw or hand saw if desired
- 2oz craft smart white acrylic paint You can also use stain if desired
- Paint brushes and sponge brushes
- Hot Glue Gun
- Cricut or other cutting machine Blue or Green Grip Mat, Weeding Tool, Scraper Tool
- Oracle 651 Vinyl Color of your choice – we went with black
- Transfer Tape
- Access to design program I used Cricut Design Space
- Small Screw Hook
- Decorative Key (you could use an old key or a regular key but decorate it to make it a ”special key”)
- Ribbon Christmas Ribbon Tray T1 (1.5 in x 30 ft)
Instructions
PAINT WOOD:
-
If your wood is not cut to size, please go ahead and do so now before you start painting.The measurements you will need for your wood pieces are the following:(2) ⅜” x 1 ½” x 7 ¾” (Sides)(2) ⅜” x 1 ½” x 5 ½” (Sides)(1) ⅜” x 7 ¾” x 6” (Face)Once wood is cut, paint the wood in any color you desire.
GLUE WOOD TOGETHER:
-
With the wood cut and painted, it is time to assemble the sign.First, place the face piece of wood flat on a surface with the paint down. Next, grab the side pieces and glue them to the back of the face edge to edgeWhile gluing the sides down, make sure you glue the corners together as well.You can also glue all sides together in the shape of the back and then glue the entire shape down to the face at once. If you do this, the paint side will be face down while gluing the sides on.
GLUE RIBBON AROUND THE SIDES OF THE SIGN:
-
Before you glue the ribbon around the outside of the sign, ensure you have a clean straight end to the ribbon. Once you have your straight end, start the ribbon at any corner and glue it in place.Next, pull the ribbon tight to the next corner and glue down the ribbon onto that side while pressing firmly.To be safe, glue little sections at a time so hot glue does not dry before pressing the ribbon firmly to the sign’s edge.Ensure the ribbon is nice and tightly stretched around the outside of the sign before moving on to the next step.
UPLOADING & CUTTING VINYL:
-
Open a blank canvas in Design Space.
-
Download the Magic Santa’s Key and upload it to Design Space.
-
Once sized accordingly, adjust your machine’s setting or material dial to washi sheet with more pressure. Load the oracle 651 (this is permanent vinyl) to your machine on the cutting grip mat and hit “go”.
-
After the cut is complete, begin to pull the negative vinyl off and away from the letters using your weeding tool (which looks like a dentist’s pick) . This process is called weeding and you will weed around the outside of the letters and small parts inside any letter that is enclosed (ex. a,e,o ).
-
Now that the weeding is complete, cut off a piece of transfer paper the size of your cut vinyl and apply to the vinyl. This will be done to help get your vinyl off the vinyl’s plastic backing and onto your project surface.
-
To get the transfer paper to lay smoothly on the design, start by pulling the plastic backing off a little at a time. Then use the scraper tool (or an old gift card) and run it down the vinyl.
-
Next, turn the entire design facing downwards and begin gently pulling the vinyl’s plastic backing off and away from the transfer paper. Starting at a corner and rolling it away slowly while applying pressure is best.
-
When the vinyl has been successfully transferred, you will be able to see through the transfer paper with the vinyl attached.
APPLYING VINYL:
-
Next, find the right side of the front of your wood sign.Be sure to leave enough space on the left side to screw the hook into the sign and have the ability to hang Santa’s key.Lay the transfer with vinyl lightly on top of the wood sign. Do not pull too tight when laying it down. This can distort the vinyl and leave you with air bubbles later on.Do not apply pressure or smooth down the design until you are 100% happy with the location. Once you are happy with the location, begin to apply pressure and smooth over the design using (again) a scraper tool or an old gift card.
-
Once enough pressure has been applied, slowly remove the transfer paper by starting at a corner and very carefully and slowly rolling it away and off the wood. The vinyl will remain on your project.Some letters on this design are small. Be careful when removing and applying and use your scraper tool to help it along at times by wedging it under the transfer paper while holding down the letter and using your other hand to roll the transfer paper away.If still having trouble, try applying heat like a blow dryer while removing.
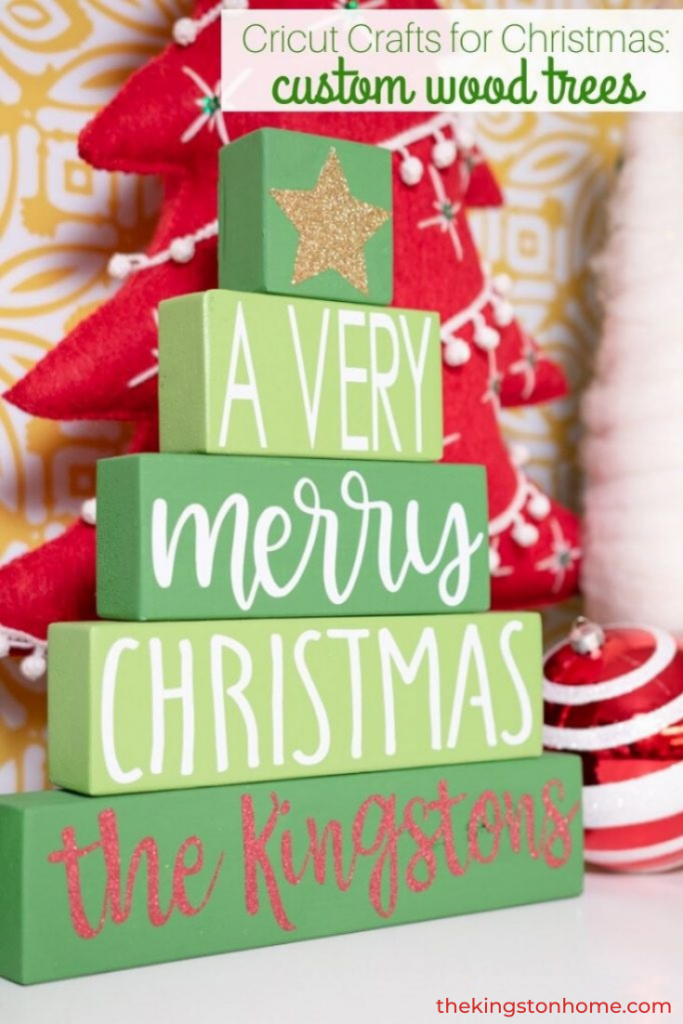
IF YOU ARE LOOKING FOR ANOTHER CRICUT WOODEN SIGN PROJECT, THEN CHECK OUT OUR CUSTOM WOOD TREES!

Related
Join The Email Club!
Want the latest crafts, fun projects, recipes + more? Subscribe below!
