The Cricut Minute #24 Did you know that there’s a tool right in Design Space where you can remove backgrounds from images?
If you have Cricut Access, there’s a one-click, kind of magic remover – but I get great results just using the regular remover, so don’t worry if you don’t have Access.


This tool works perfectly if you have just a plain background with images that have a very clear / clean border.
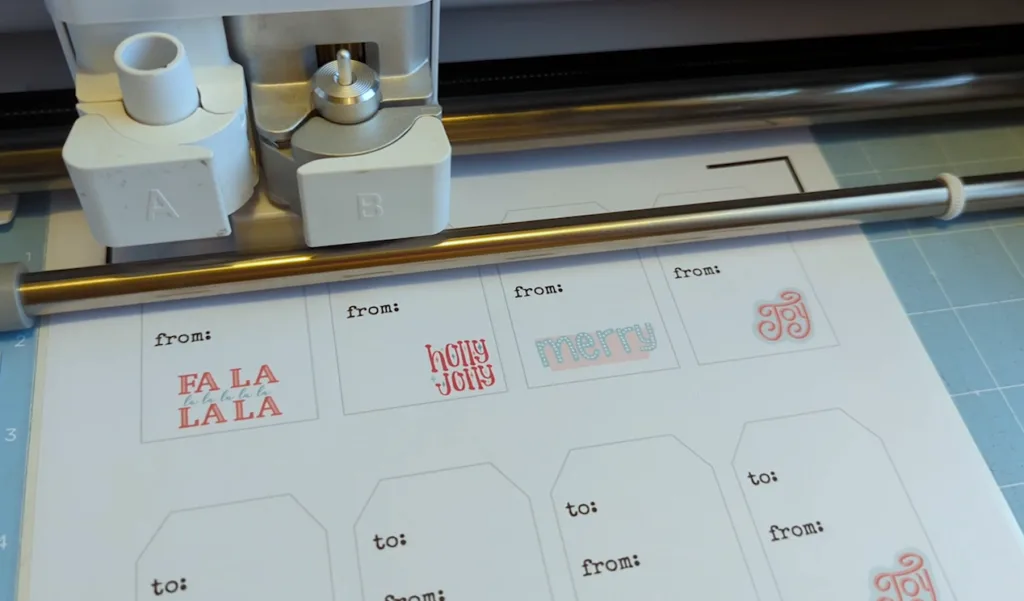
Like on these tags – the sheet has a solid white background, so with one click, the white becomes transparent.


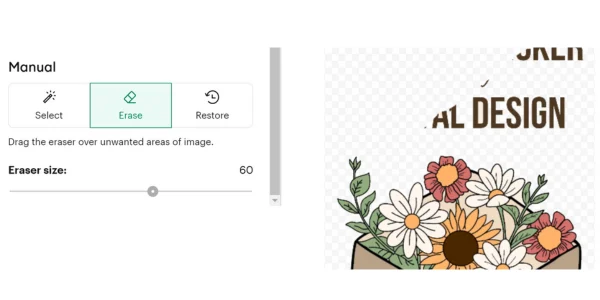
But you can also adjust the size of the eraser brush, and zoom in on the image, so you can get right up close to the edges of whatever you want to print then cut out.
You can see the tag-background-removal in this video (Skip to about minute 10 if you don’t want to watch the designing process in Canva.)
Today’s Tip: Design Space background remover
- After uploading an image (like PNG or JPG) to Design Space, click on any white space in the back to remove it.
- You will see the white change to the gray checkered pattern that signifies transparency.
- Zoom in and adjust the size of the eraser tool if you need to be more precise to get right up to some edges.