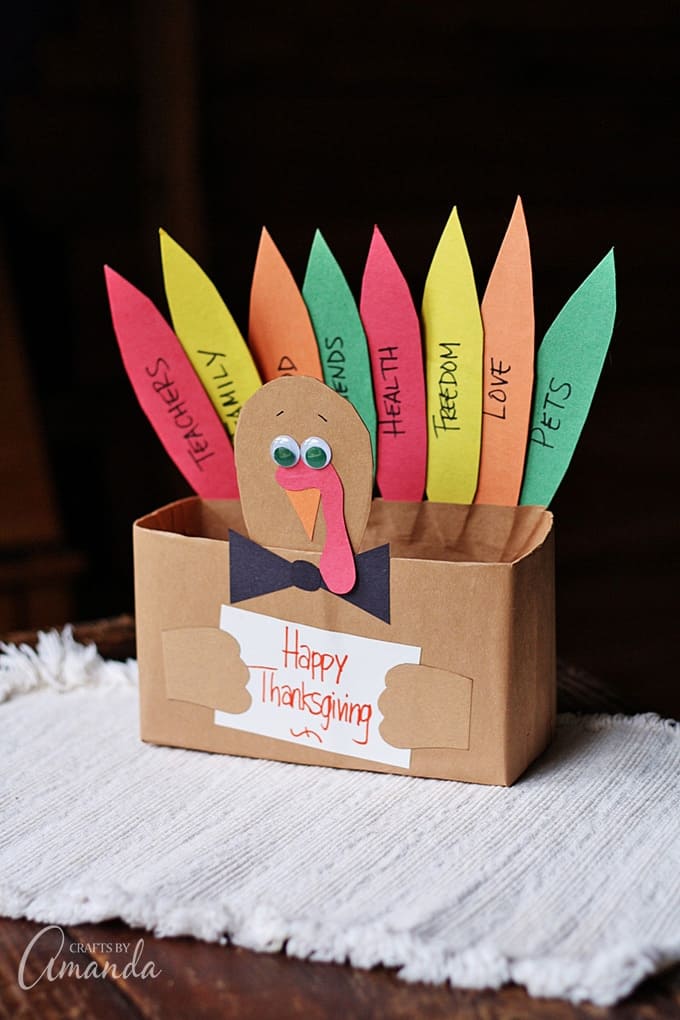
Thanksgiving is almost here and what would the holiday be like without sharing fun ways with the kids on what it’s all about? This cereal box turkeyis a great way to help kids express what they are thankful for.
Cereal Box Turkey
Recycle an empty cereal box into a fun and creative project the kids will love. This cereal box turkey makes a great centerpiece for the kid’s table too!
To make this thankful turkey from a cereal box you will need
How to Make a Cereal Box Turkey
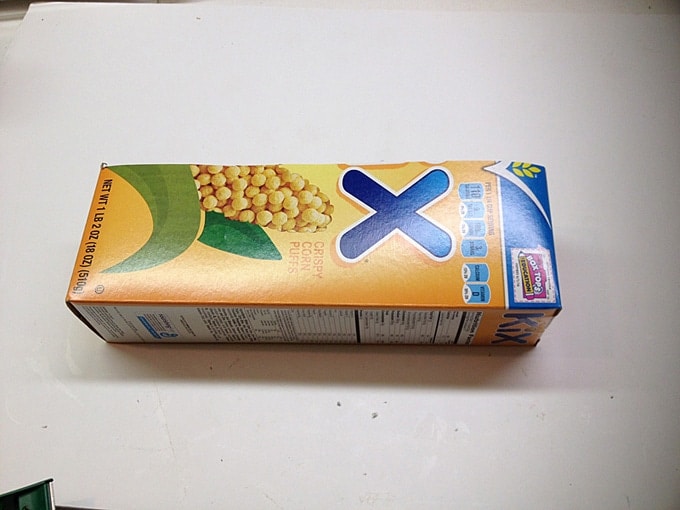
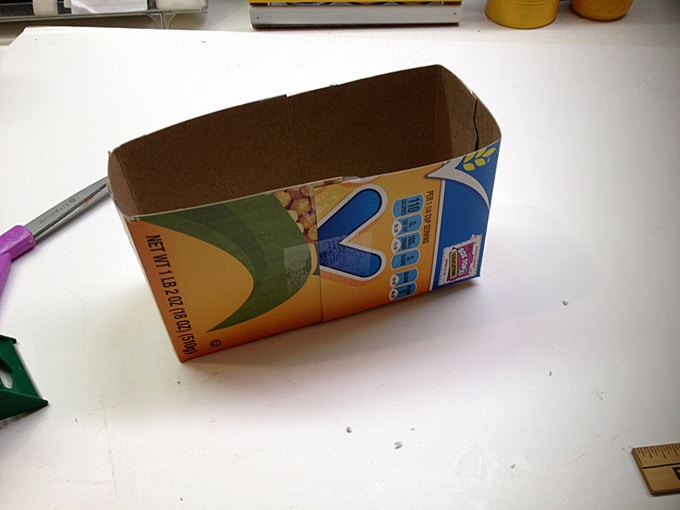
Start by cutting a cereal box in half lengthwise. Close up open end(s) with tape.

Use a ruler to measure 4-inches from each side.
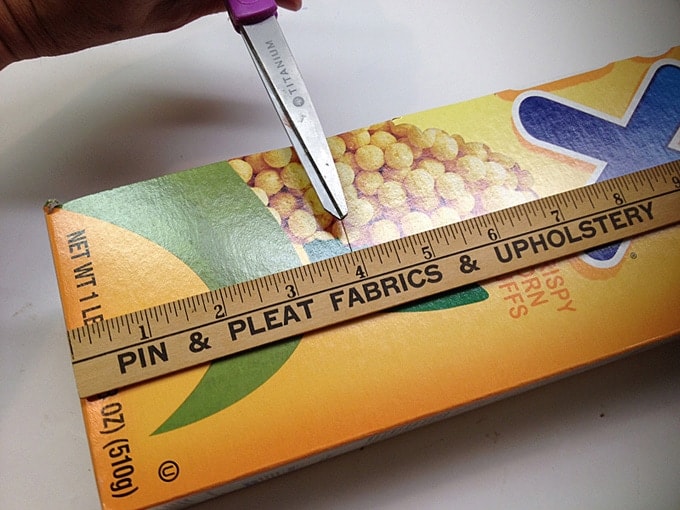

Cut where you measure to remove the center. Set that extra cardboard aside with the other half of the cereal box for later in the project.
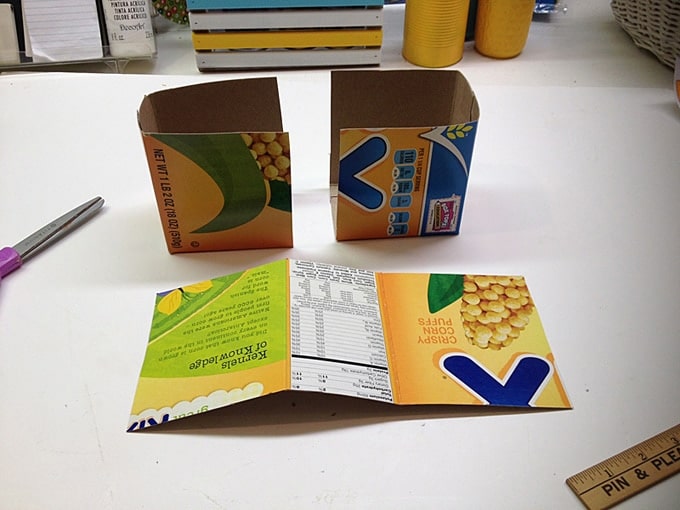

Place one end inside the other,just so it slightly overlaps. Tape the two pieces together.

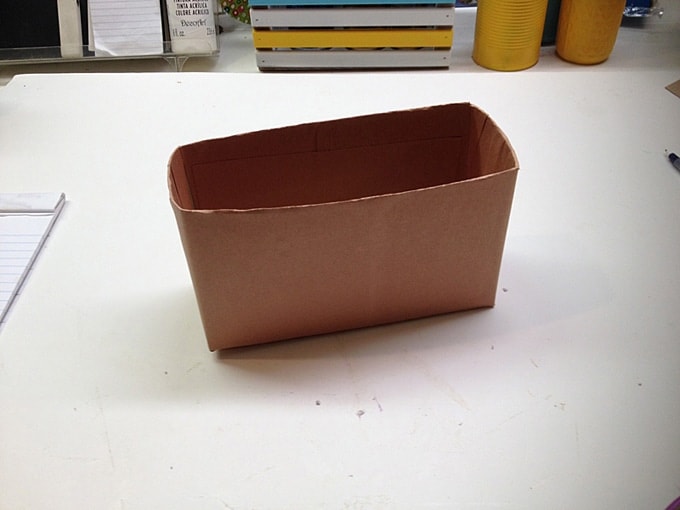
Use a glue stick to cover the box with brown construction paper.

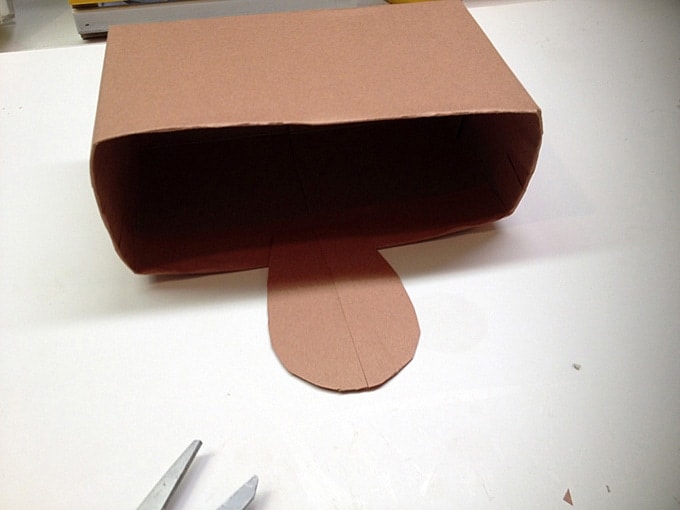
Cut out the turkey head from the remaining cereal box cardboard using the pattern provided above. Use a glue stick to cover both sides in construction paper and glue it inside the box as shown.

To make the feathers,measure cardboard strips out to 6 ½” x 1 ½”. Use a glue stick to cover the cardboard strips with red,orange,green and yellow construction paper.
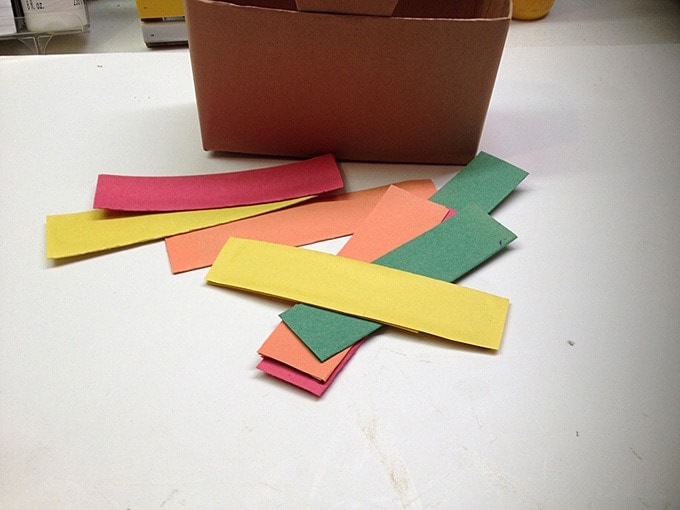

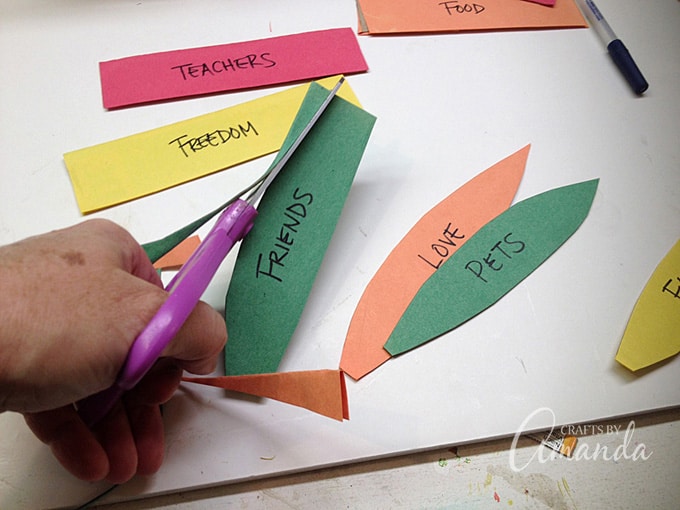
Have your kids use a black marker to write what they are thankful for on the strips,then trim them into simple feather shapes. Attach to the back of the turkey box using white craft glue and let dry.

Cut out the remaining pattern pieces as follows:
- Black – bow tie
- Orange – beak
- Red – gobbler
- Brown – hands
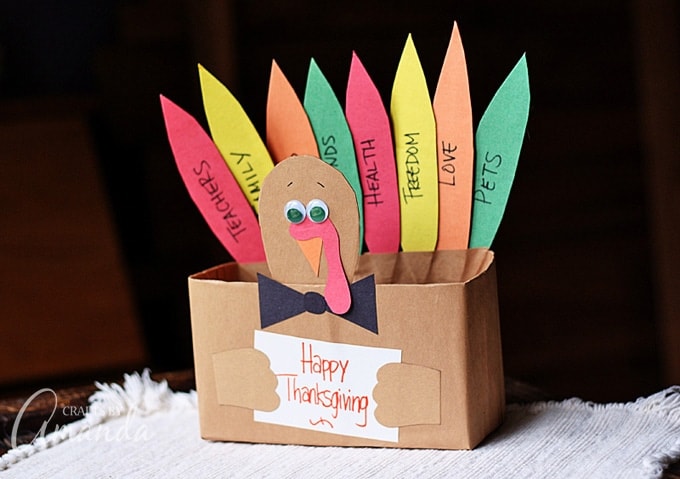

Draw a “Happy Thanksgiving” sign on white paper. Cut the “hands” from the pattern using brown construction paper. Glue the hands to either side of the sign and attach the sign and hands to the front of the turkey.
Attach the bow tie on with glue and then the eyes. Glue the beak on next then add the gobbler over the top of the beak. Let everything dry before displaying on the table!
More Thanksgiving Crafts
Cereal Box Turkey
Recycle a cereal box and make this cereal box turkey for Thanksgiving with the kids. A fun project that makes a cute centerpiece!
Supplies
- Recycled cereal box
- Construction paper:brownred,yellow,orange and green
- 2googly eyes
- Scissors
- Glue stick
- Turkey pattern pieces
- White craft glue
Instructions
Start by cutting a cereal box in half lengthwise. Close up open end(s) with tape.
Use a ruler to measure 4-inches from each side.
Cut where you measure to remove the center. Set that extra cardboard aside with the other half of the cereal box for later in the project.
Place one end inside the other,just so it slightly overlaps. Tape the two pieces together.
Use a glue stick to cover the box with brown construction paper.
Cut out the turkey head from the remaining cereal box cardboard using the pattern provided above. Use a glue stick to cover both sides in construction paper and glue it inside the box as shown.
To make the feathers,measure cardboard strips out to 6 ½” x 1 ½”. Use a glue stick to cover the cardboard strips with red,orange,green and yellow construction paper.
Have your kids use a black marker to write what they are thankful for on the strips,then trim them into simple feather shapes. Attach to the back of the turkey box using white craft glue and let dry.
Cut out the remaining pattern pieces as follows:Black – bow tie,Orange – beak,Red – gobbler,Brown – hands.
Draw a “Happy Thanksgiving” sign on white paper. Cut the “hands” from the pattern using brown construction paper. Glue the hands to either side of the sign and attach the sign and hands to the front of the turkey. Glue the bow tie on and then the eyes. Glue the beak on next then add the gobbler over the top of the beak. Let everything dry before displaying on the table!
I originally created this project for Kix Cereal. And was originally published on this blog on Nov 10,2013.
