Paint
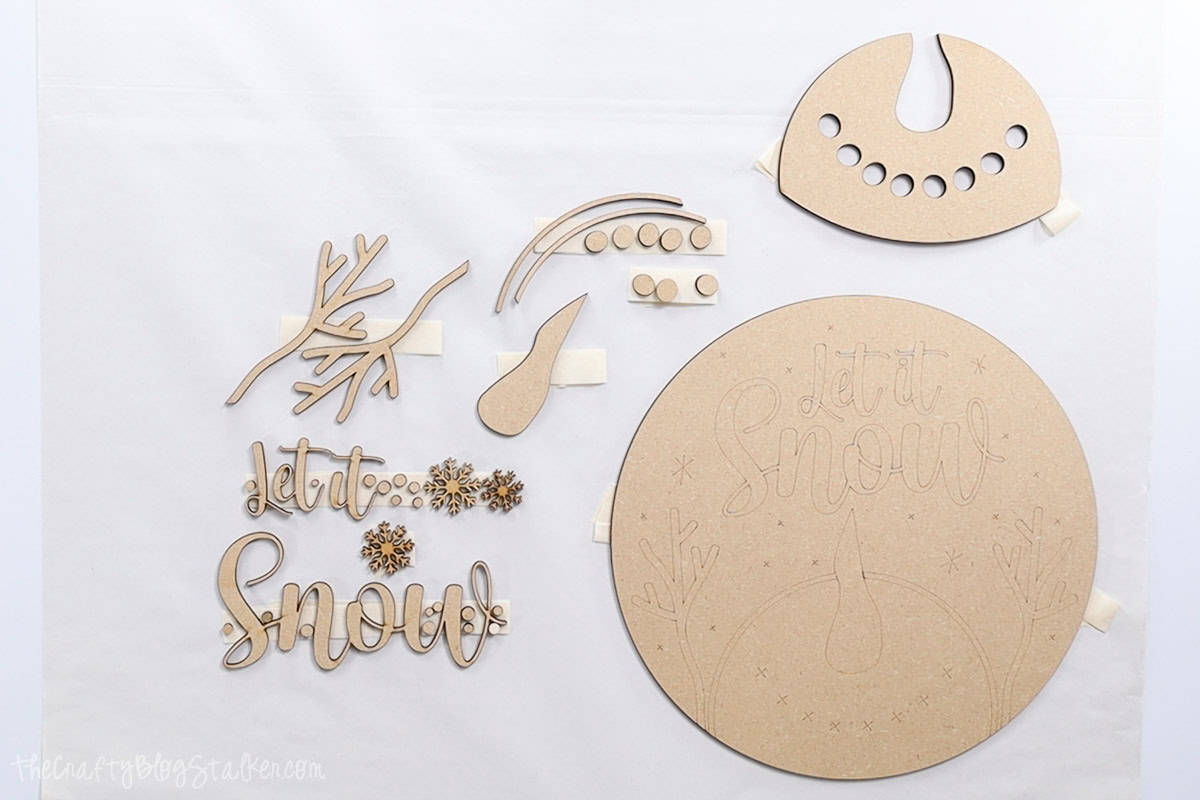
I like to tape the pieces down to a table covered with paper to prepare for painting.
The tape holds the pieces so I don’t get paint all over my fingers, and the paper protects my table.
I group them by color.
![Laser-cut wood pieces for a "Let It Snow" sign, including text, snowflakes, branches, and snowman elements, laid out and ready for assembly and decorating.](https://crafto.one/wp-content/uploads/2024/12/Make-Laser-Cut-Let-It-Snow-Wood-Door-Hangers.jpg)
The circular base is painted blue, and I painted it with a sponge brush.
I paint the other pieces with makeup sponges. I like to use cosmetic sponges because they are cheaper than sponge brushes, but they don’t work great for large areas.
![Painting in progress for a "Let It Snow" wood sign, with a blue background and detailed pieces like branches and text being painted brown and white for assembly.](https://crafto.one/wp-content/uploads/2024/12/1734253952_980_Make-Laser-Cut-Let-It-Snow-Wood-Door-Hangers.jpg)
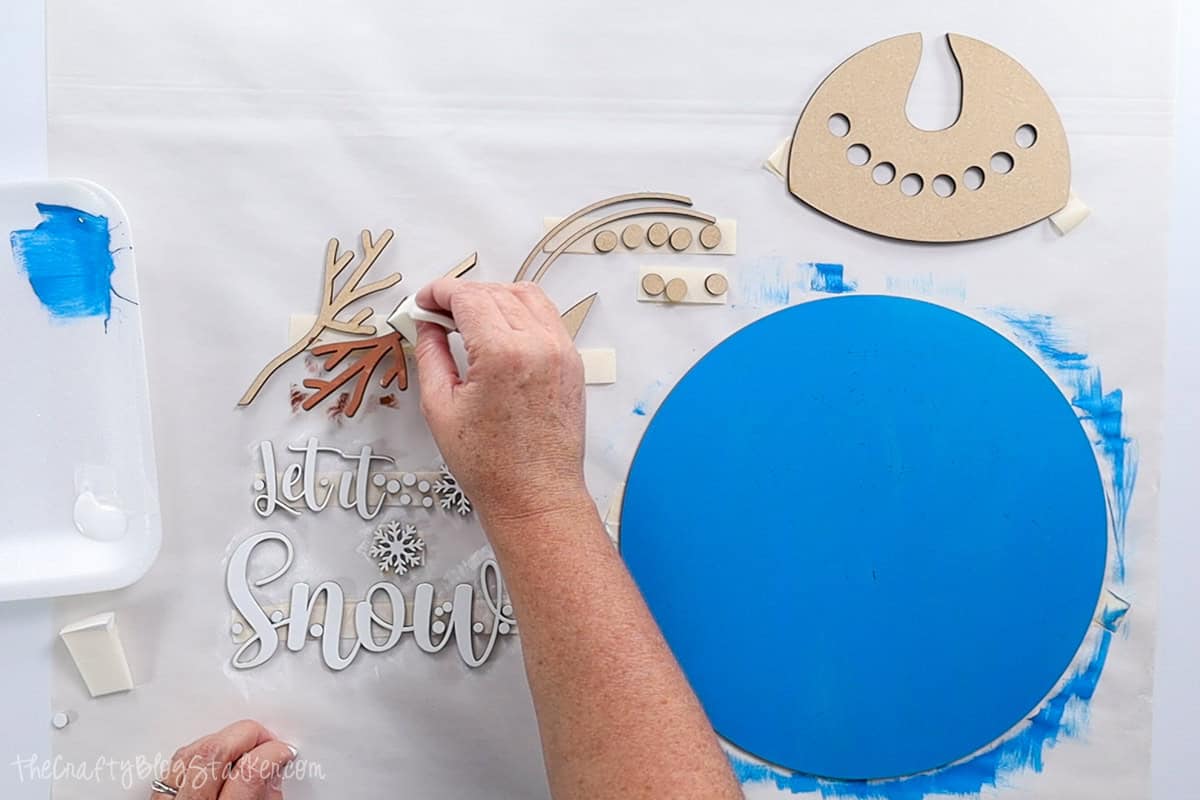
Let the pieces dry completely before moving on to the next step.