Hello Crafty Friends!
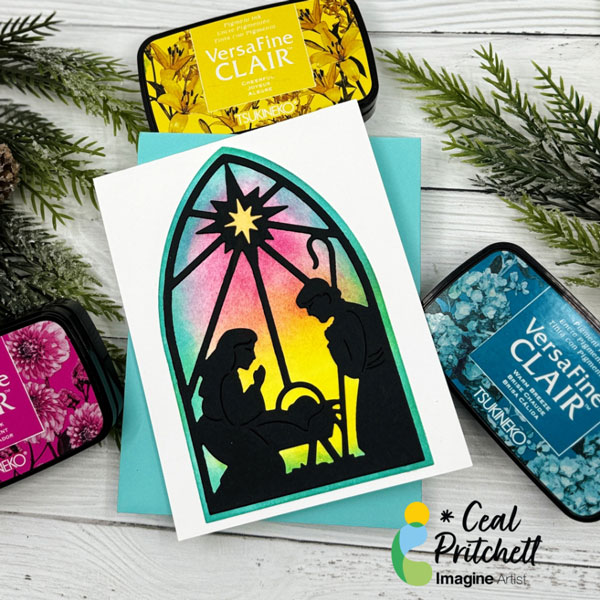
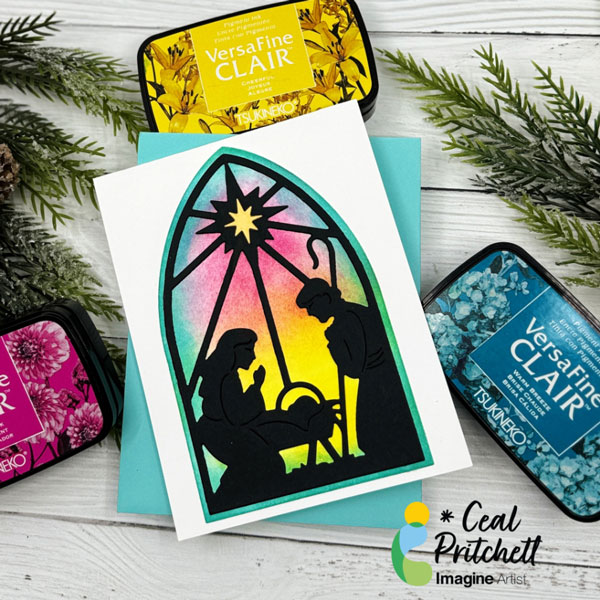
It’s Ceal, here. Today I am sharing how I made this faux stained-glass Christmas Card.
Skill Level: Beginner
Time: 30 Minutes
Directions:
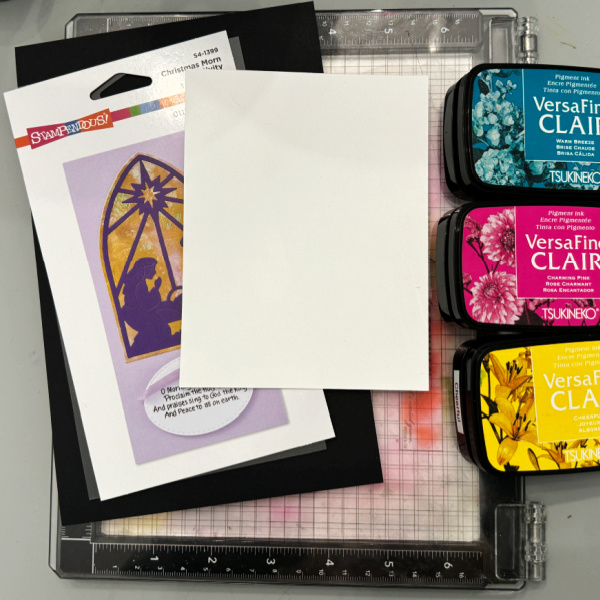
Gather your supplies. You will three inks, Pink, Yellow and Blue. A blending tool, a silhouette die along with black, white and gold cardstock.
Step 1:
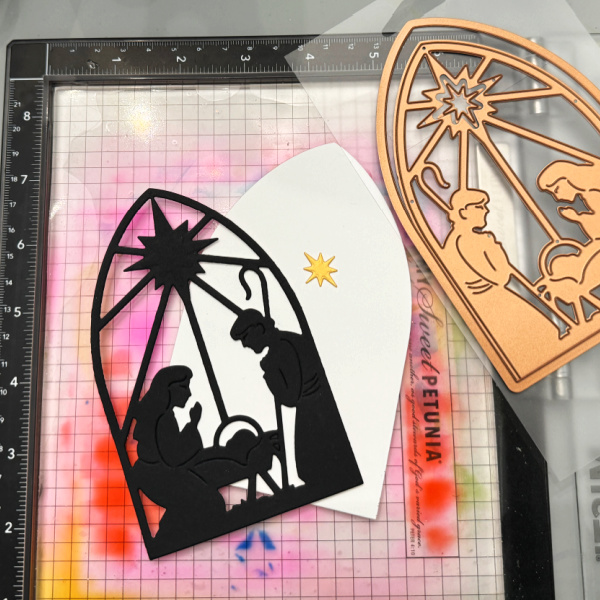
Cut the nativity die out of black cardstock, the backer out of white and the star out of the gold cardstock.
Step 2:
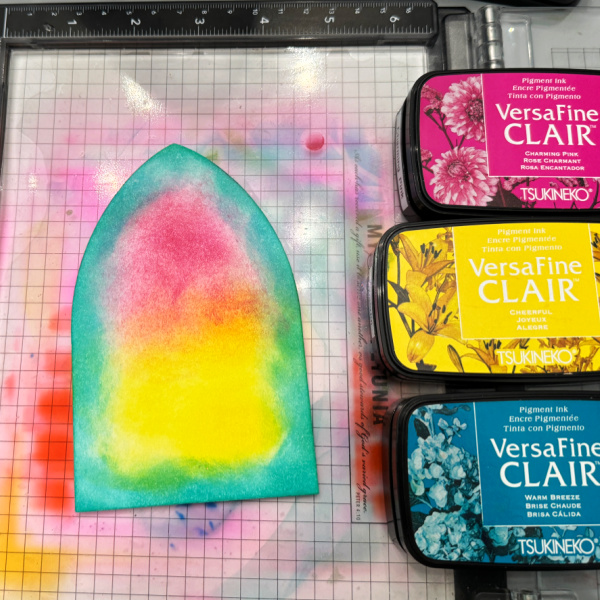
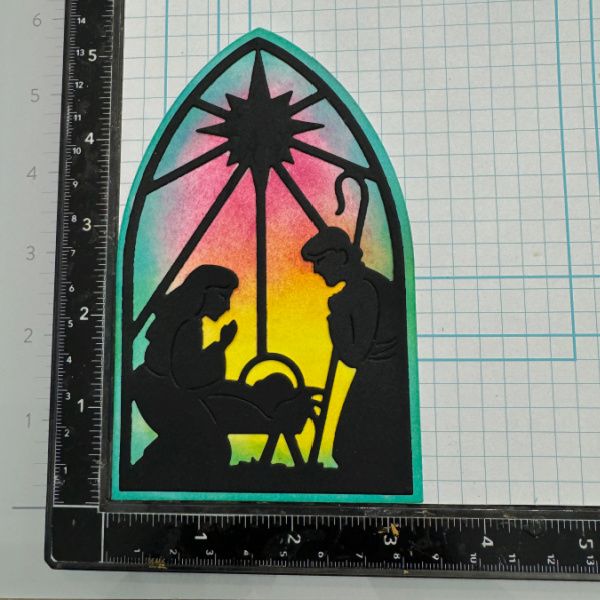
On the backer using a sponge or other blending tool, blend the blue around the outer edge of the panel and the pink and yellow inside the blue.
Step 3:
Line up the nativity over the backer and adhere it down with On Point glue. As you can see in the photo above, I use the corner of the MISTI to help me line things up.
Step 4:
Add the window to the card base.
Supplies:
Imagine Products:
• VersaFine Clair – Charming Pink, Cheerful and Warm Breeze
• On Point Glue
• Sponge Daubers
Other Products:
Misti 2.0 – My Sweet Petunia
Nativity Die – Stampendous
White Cardstock – CutCardStock
Black Cardstock – Hero Arts
Gold foil cardstock – Erin Lee Creative